


")


Photography Workflow Series
Overwhelm happens when there is just WAY TOO MUCH work in front of you. Sometimes it makes it hard to even get started! Our brains tend to shut down, we get behind, and the cycle runs over and over. This is why, throughout EVERY part of my workflow, everything is broken down into smaller tasks, sections, and subfolders.
Today we’re going to talk about how to eliminate the overwhelm-paralysis from culling your weddings and portrait sessions.
I don’t know about you, but every time I used to get home from photographing a wedding or a session, I would sit there insanely overwhelmed with the 5,000 or so images I now needed to go through. I would get through about 100 images, get overwhelmed by how much was left, hop onto Facebook or Instagram for a distraction, get sucked down the rabbit hole, and before I knew it, hours had gone by and I hadn’t culled anything!!
Now, before I begin, I break up all the RAW unedited images into subfolders, labeled with each section of the day. Here’s what that looks like in Photomechanic.
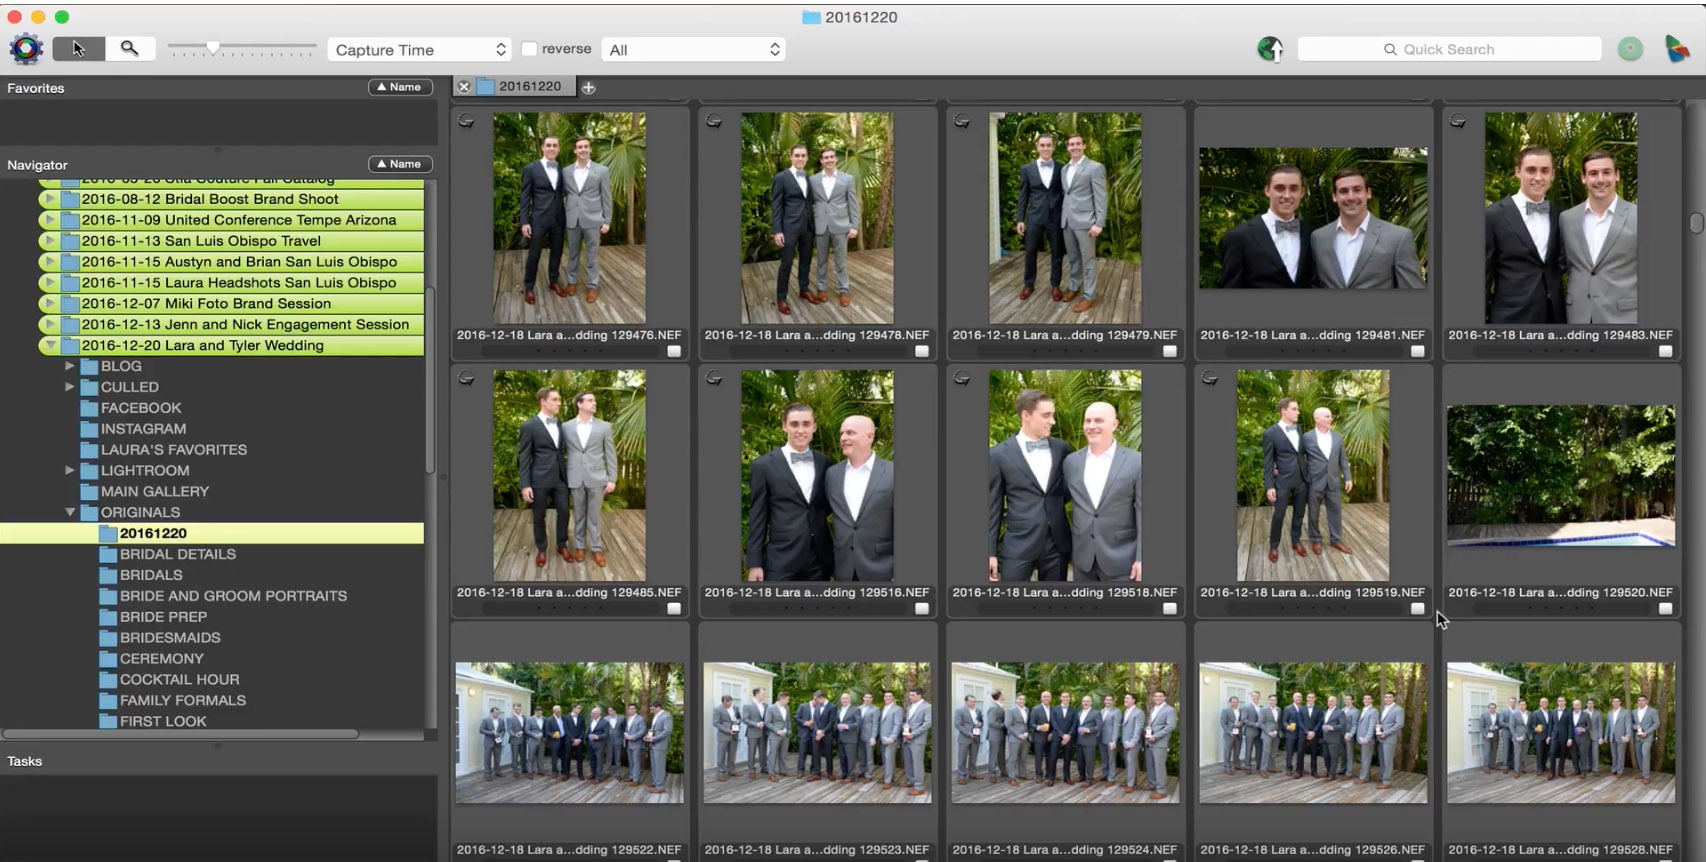
This is one of the first things I do after I import the images. I created a folder on my hard drive (which I explain in this post here: How to Save Time on Every Photo Session) with all the subfolders pre-created. Then I copy that template folder and rename it for my client project.
Next, when I import my images into Photomechanic, all I need to do it select and drag them into the proper subfolders before I begin culling.
Pro Tip: If you do this in Photomechanic, it will transfer over to your Lightroom so you can then edit in those subfolders. Now you only need to match the edits to each section of the day individually, vs. trying to sync edits from different lighting scenarios. This will DRASTICALLY reduce your overwhelm and your editing time while helping you create positive momentum with your workflow and tasks.
I often get questions about this from my students about why I break down into so many subfolders, so I wanted to clarify that up here! There are a few different filters I use to create my subfolders.
- I break up my subfolders based on what I think will have a different white balance from another section. (Bridal Details vs Bride Prep!)
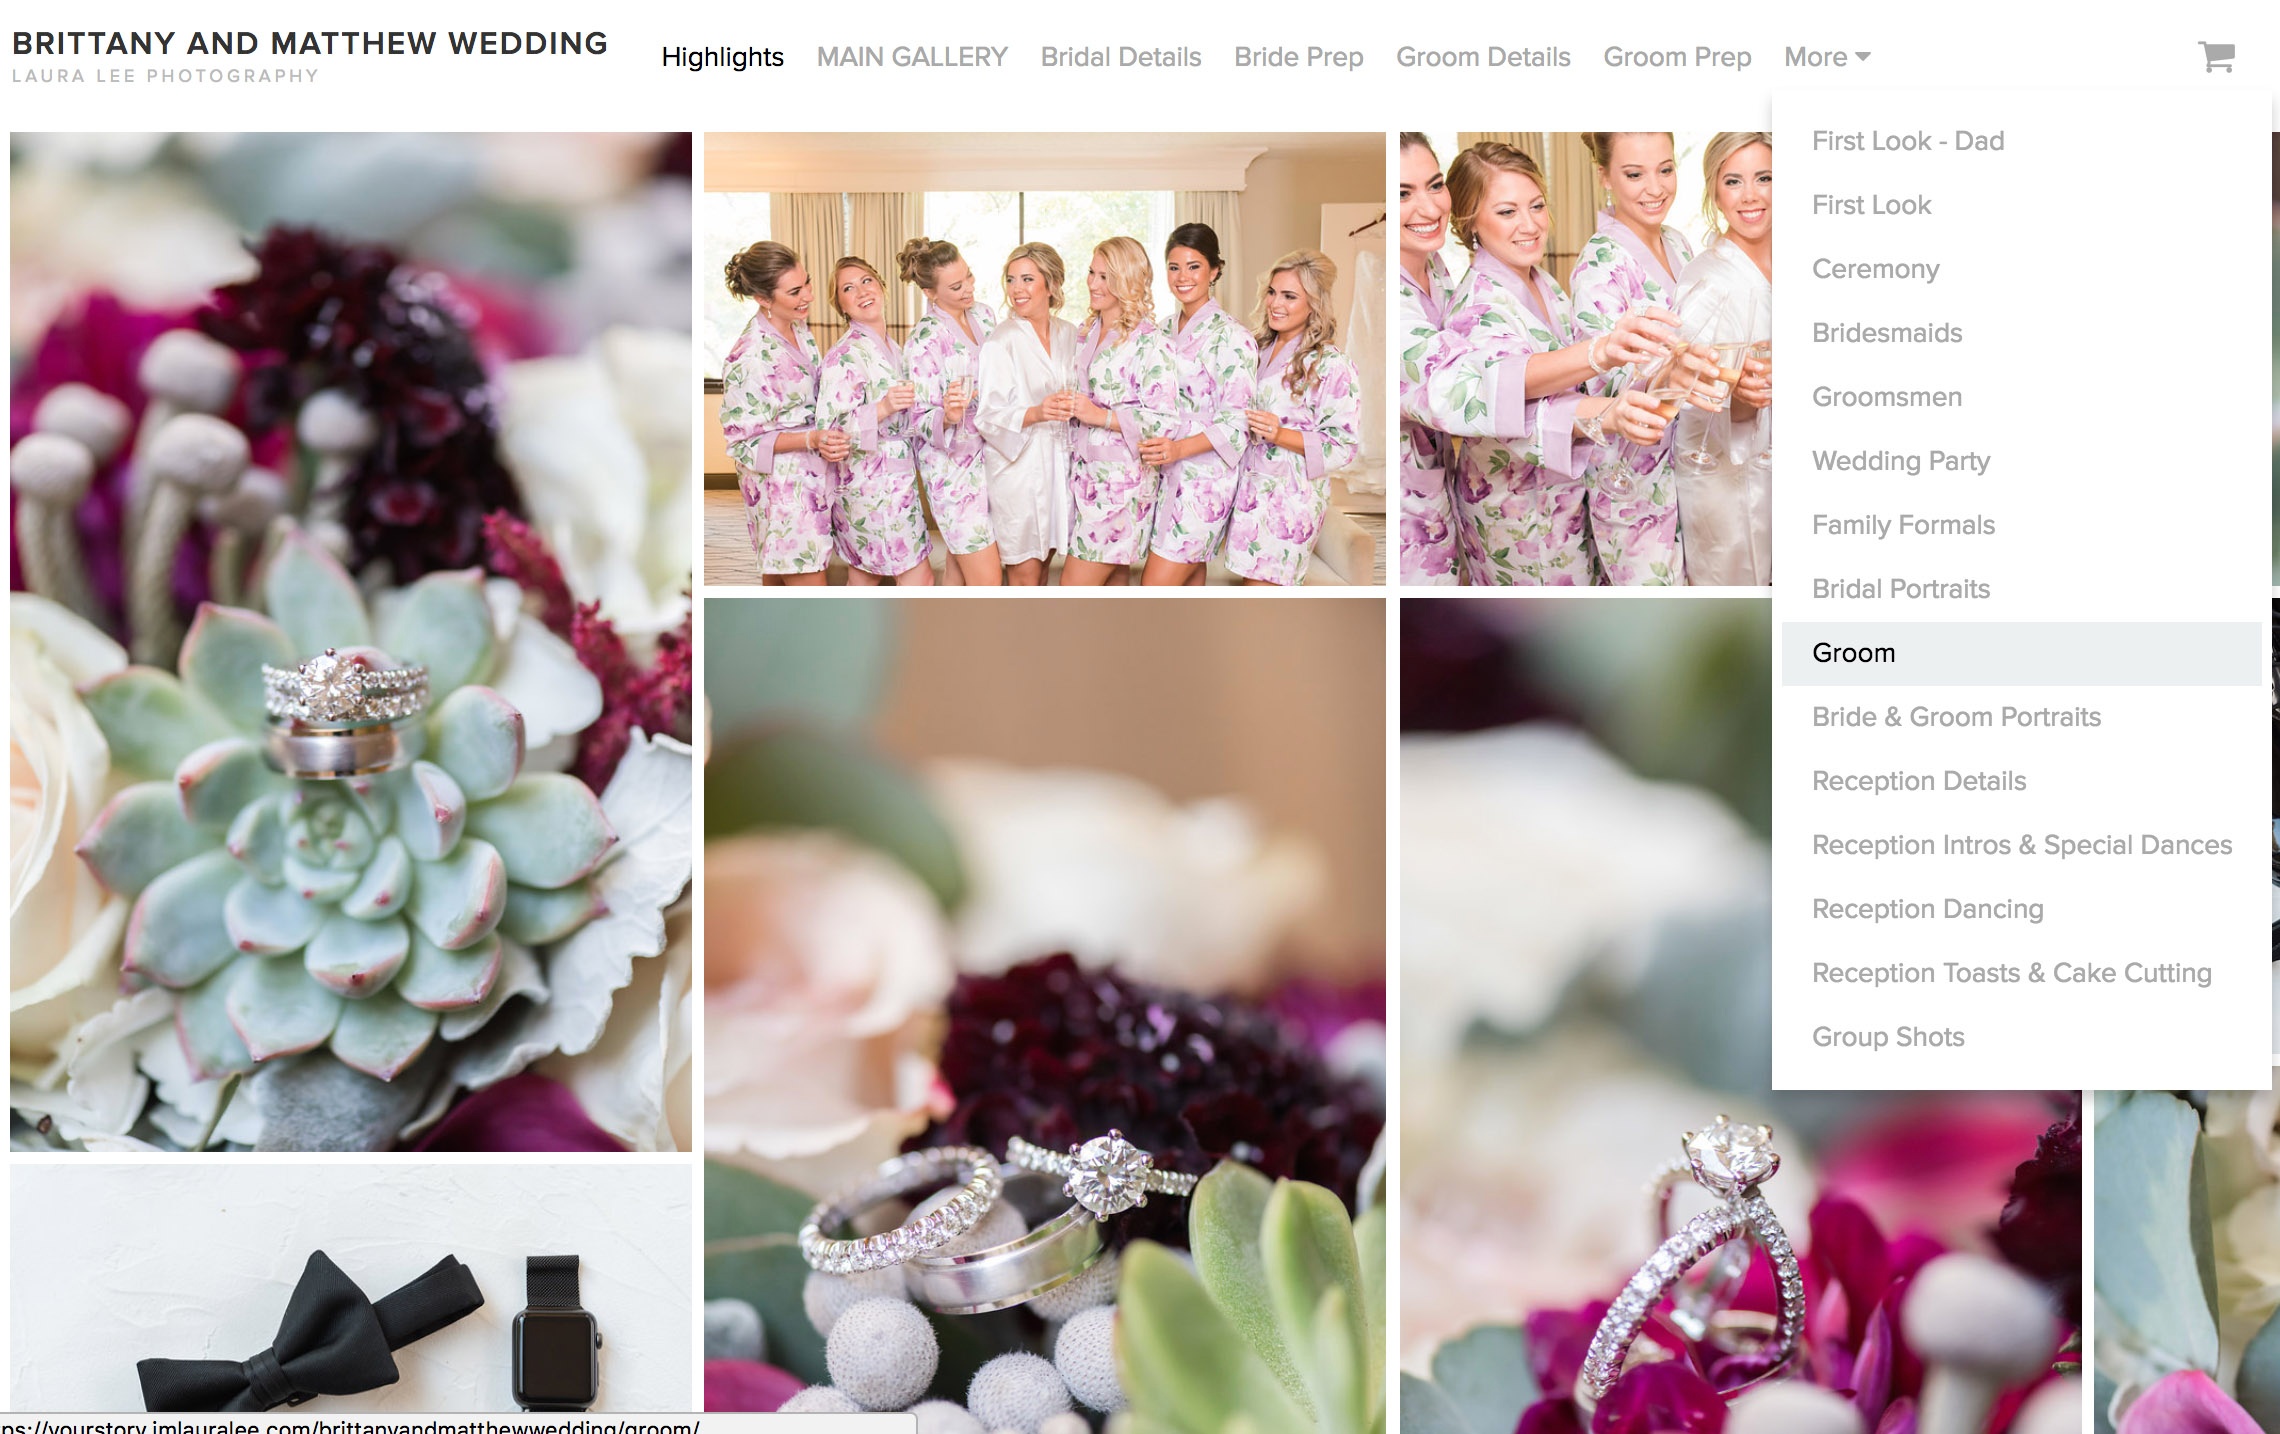
- I break them up how I would break them up in the gallery for the couple.
- I break them up so that I have a smaller number of images to cull and or edit in a subfolder.
For example: I break up my reception photos into 5 different sections:
- Reception Dancing
- Reception Toasts, Cake, Garter, Bouquet
- Reception Group Shots and Couples
- Reception Intros and Special Dances
- Reception Details
Doing so makes every process so much easier! The editing process is quicker because I’m not overwhelmed with 700 photos in one folder for the reception. The album process is faster because I generally make a page in the album for each of these sections, and the culling process is faster because I psychologically have less images to get through and I can build momentum by starting small.
The other benefit to this, is that you never need to find a huge chunk of time in your day to cull, edit, album design, etc. When you break it down into subfolders, you’re able to find pockets of time throughout your day to get through just a few sections, and then before you know it, you’ll be done with the whole task!
Interested in my other time saving workflow tips? Download my free guide here to get 10 time saving tips for your photography workflow!


")


+ show Comments
- Hide Comments
add a comment